Custom Home Construction Timeline: What to Expect From Start to Finish
Understanding the Custom Home Construction Timeline
Building a custom home is exciting, but it also comes with a process that takes patience, planning, and coordination. A typical custom home construction timeline can range from several months to over a year, depending on the size of the home, the complexity of the design, local permitting requirements, weather, and material availability. Knowing what happens at each stage can help you set realistic expectations and make better decisions along the way.
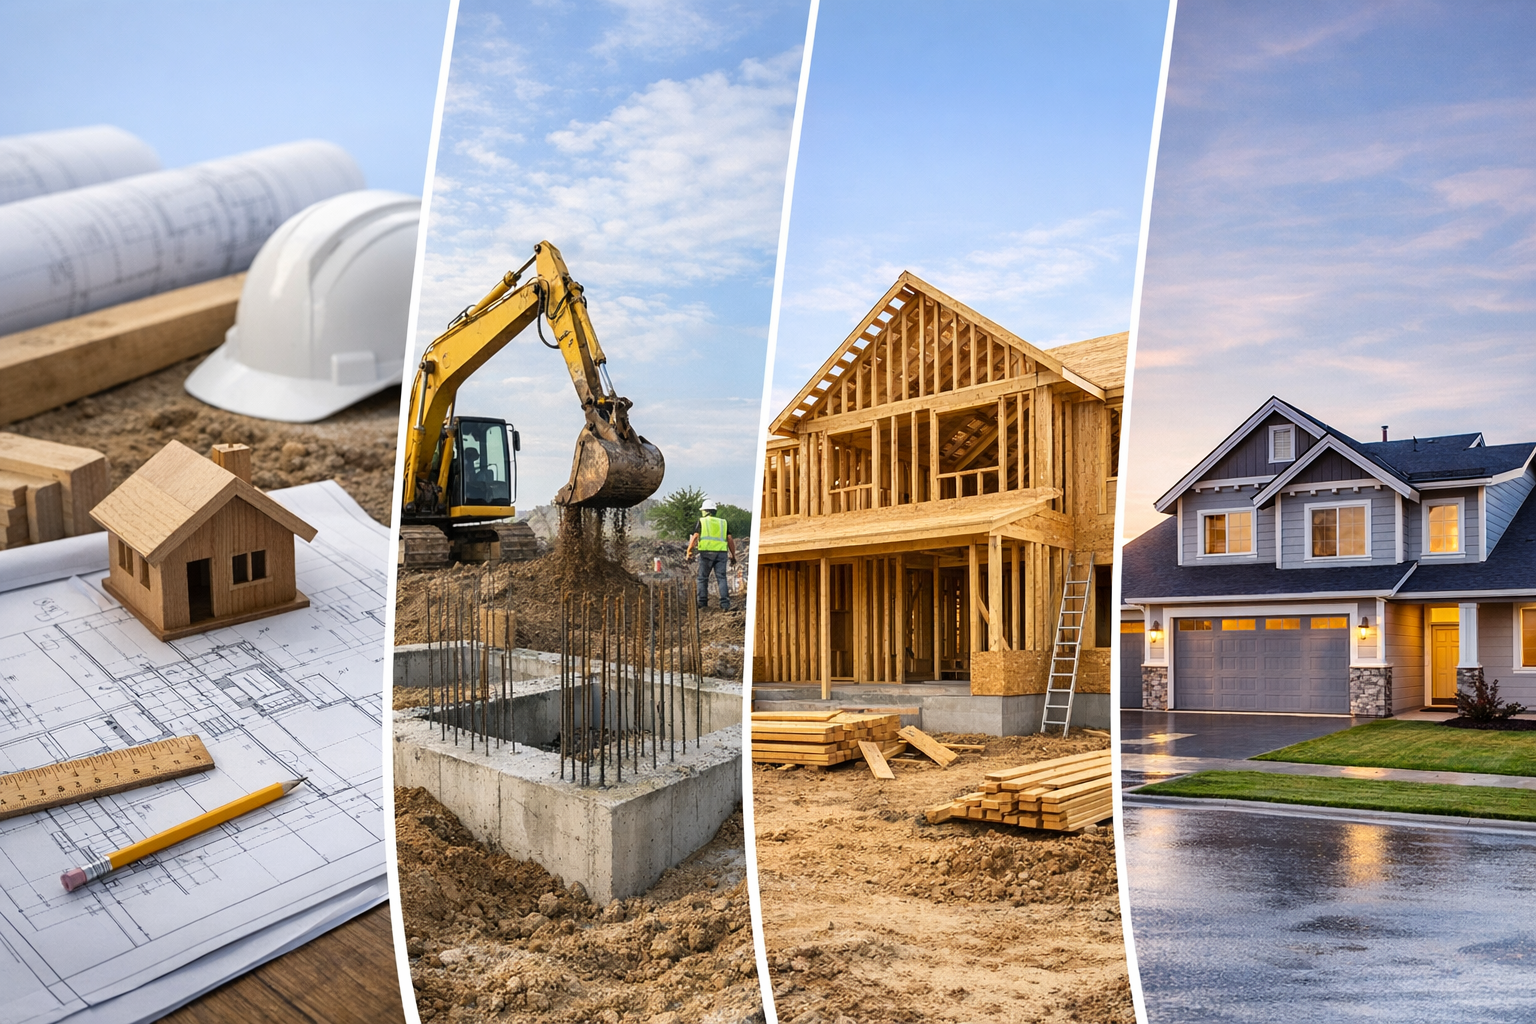
While every project is unique, most custom homes follow a similar sequence: planning, design, permitting, site preparation, foundation work, framing, mechanical installation, interior finishes, final inspection, and move-in. Understanding these phases helps homeowners stay informed and reduce stress throughout the build.
Pre-Construction Planning
Defining Your Goals and Budget
The timeline begins long before construction starts. During the planning stage, you’ll work on your goals, must-have features, preferred style, and overall budget. This is also when you decide whether you want a one-story, two-story, or more complex custom layout. The clearer your vision is at the start, the smoother the rest of the project will go.
Budgeting is especially important because changes later in the process can add both time and cost. A well-defined budget helps your builder and design team recommend materials, finishes, and floor plans that match your expectations.
Design and Selections
Once your goals are established, the design phase begins. This stage may include architectural drawings, engineering plans, and interior selections such as flooring, cabinetry, countertops, fixtures, and lighting. Because many decisions need to be made before construction begins, this phase can take a few weeks to several months.
The more decisions completed upfront, the fewer delays you’ll encounter later. Finalizing selections early also helps your builder order materials in advance, which is especially helpful when lead times are long.
Permitting and Site Preparation
Permits and Approvals
Before work can begin, your plans usually need to go through permitting and approval with local building authorities. This step ensures the home meets zoning laws, safety standards, and building codes. Depending on your location, permitting may take a few weeks or much longer if revisions are required.
This part of the custom home construction timeline often feels slow, but it is a necessary step. Delays here are common, especially if the property is in a regulated area or requires special approvals.
Preparing the Lot
After permits are approved, the site is prepared for construction. This can include clearing trees or brush, grading the land, bringing in utilities, and setting up access for equipment and materials. If the lot has challenging terrain or drainage issues, site work may take additional time.
Proper preparation is important because it creates a solid foundation for the rest of the build. Skipping steps or rushing this stage can lead to costly problems later.
Foundation to Framing
Foundation Work
Foundation work is one of the first major construction milestones. Depending on the design, this may involve a slab, crawl space, or basement. The process includes excavation, pouring concrete, curing, and inspection.
Weather can affect this stage, especially if rain or freezing temperatures interfere with concrete work. Once the foundation is complete and approved, the project can move into framing.
Framing the Structure
Framing gives your home its shape. Builders construct the floor system, walls, roof structure, and exterior sheathing. At this point, the home begins to look like a house rather than a job site, which is often one of the most exciting moments for homeowners.
Framing typically moves quickly compared with earlier phases, but the exact timing depends on the home’s size and complexity. Custom rooflines, vaulted ceilings, or special architectural details may extend this stage.
Mechanical, Electrical, and Plumbing Installation
Rough-In Work
After framing is complete, contractors install the home’s essential systems. This includes plumbing lines, electrical wiring, HVAC ductwork, insulation, and any low-voltage systems such as security or smart home features. These are often referred to as “rough-ins” because they are installed before walls are closed.
Inspection usually takes place after rough-in work is completed. If changes are needed, they must be addressed before drywall is installed, so this step requires strong coordination between the builder and subcontractors.
Drywall and Interior Prep
Once the rough-in inspections are passed, insulation is finalized and drywall goes up. After drywall installation, the interior begins to take shape. Taping, mudding, sanding, and priming follow, creating the smooth surfaces needed for paint and finishes.
This stage may not look as dramatic as framing, but it is a key part of transforming the structure into a livable home.
Interior and Exterior Finishes
Cabinets, Flooring, and Fixtures
With the walls finished, crews begin installing interior finishes. This includes cabinetry, countertops, tile, flooring, doors, trim, and plumbing and lighting fixtures. Exterior work such as siding, painting, and porch details may also be completed around this time.
Because many of these items are custom or specialty products, supply delays can affect the timeline. Staying organized and ordering materials early helps keep the project moving.
Final Paint and Detail Work
The finishing stage includes painting, hardware installation, appliance placement, and touch-ups. This is where the house starts to feel complete. Small details matter here, and builders often spend extra time ensuring that everything functions and looks right.
Homeowners may also complete a walkthrough during this phase to identify any items that need correction before final approval.
Final Inspection and Move-In
Inspections and Punch List
Before you can move in, the home must pass final inspections and receive a certificate of occupancy or equivalent approval. The builder will also create a punch list, which includes minor fixes or adjustments that need to be completed before closing the project.
This final review ensures the home is safe, complete, and ready for your family. It’s a good time to ask questions about maintenance, systems, warranties, and any remaining details.
Moving Into Your Custom Home
Once inspections are complete and any final items are addressed, you can move in and begin enjoying your new home. Even after move-in, your builder may continue to handle warranty items or follow-up tasks as part of the post-construction process.
Although the timeline may have felt long, each step plays an important role in creating a home that reflects your lifestyle and preferences.
Conclusion
A custom home construction timeline involves many moving parts, but understanding each phase makes the process easier to manage. From planning and permitting to framing, finishes, and final inspection, every stage brings you closer to a home that is uniquely yours. With good communication, realistic expectations, and an experienced builder, you can navigate the journey with confidence and enjoy the results for years to come.