A Clear Guide to the Custom Home Construction Process
Understanding the Custom Home Construction Process
Building a custom home is exciting, but it can also feel overwhelming if you are not sure what happens first, next, and last. The custom home construction process is a step-by-step journey that takes your ideas from concept to move-in day. While every project is unique, most custom builds follow a similar path that includes planning, design, permitting, construction, and final inspections.
Knowing what to expect can help you make better decisions, stay on budget, and avoid unnecessary stress. It also gives you a clearer picture of how long each phase may take and where your input matters most.
Step 1: Planning Your Dream Home
The first stage begins long before construction starts. This is where you define your goals, lifestyle needs, and budget. Think about how many bedrooms and bathrooms you want, whether you need a home office, and which features matter most to your family. Do you want an open floor plan, energy-efficient systems, or a large outdoor living area?
At this stage, it is also important to choose the right location. Your lot will influence the design, foundation type, drainage needs, and even the home’s orientation for natural light. A well-prepared plan should include:
- Your budget range
- Preferred home style and size
- Must-have features and design priorities
- Timeline expectations
- Land selection or site requirements
Careful planning creates a strong foundation for the rest of the project.
Step 2: Design and Pre-Construction
Once your goals are clear, the design phase begins. This is where your ideas become drawings, plans, and specifications. You may work with an architect, designer, or builder to create a layout that fits your needs and your lot. During this stage, you will make choices about room flow, exterior style, finishes, and structural details.
Pre-construction also includes many behind-the-scenes tasks. The builder may assess the site, review soil conditions, estimate costs, and coordinate engineering if needed. This is also when permits and approvals are prepared. Since local building rules vary, this step can take time, but it is essential for keeping the project compliant and on track.
Good communication during design and pre-construction helps reduce surprises later. The more detailed the plans, the smoother the build typically goes.
Step 3: Securing Permits and Final Approvals
Before construction can begin, your project usually needs permits from the local building department. These permits confirm that your home design meets zoning, safety, and structural standards. Depending on where you live, you may need approvals for grading, utilities, septic systems, or environmental requirements as well.
This stage can feel slow, but it is a necessary part of the custom home construction process. Skipping permits or rushing approvals can lead to costly delays and problems later. A knowledgeable builder will often manage this step and help ensure all paperwork is filed correctly.
Step 4: Site Preparation and Foundation Work
After permits are approved, the physical work begins. The lot is cleared, leveled, and prepared for construction. If needed, crews may remove trees, set up erosion control, and bring in equipment. Utility lines may also be planned or connected during this stage.
Next comes the foundation. Depending on the design and soil conditions, this may be a slab, crawl space, or full basement. The foundation is one of the most important parts of the home because it supports everything above it. Once the foundation is poured and cured, framing can begin.
Site preparation and foundation work set the stage for the entire project, so accuracy matters here more than almost anywhere else.
Step 5: Framing the Structure
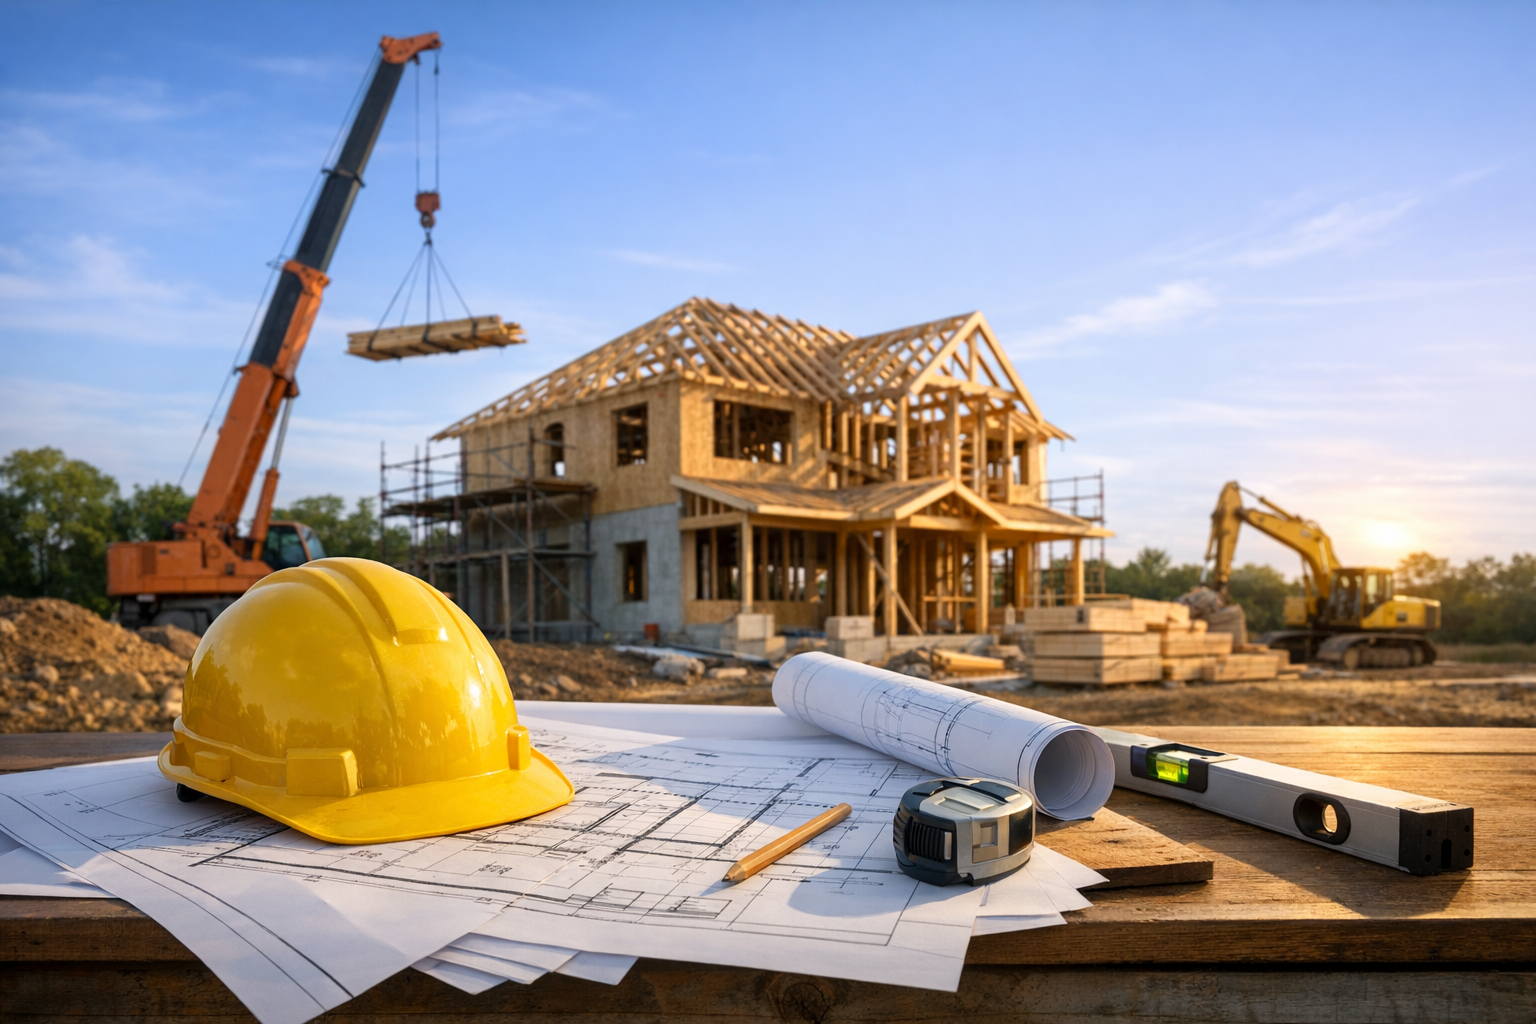
Framing is one of the most exciting parts of the build because your home begins to take shape quickly. During framing, the builder constructs the walls, floors, roof system, and other structural elements. You will start to see the home’s layout in three dimensions, which makes the design feel much more real.
After framing, the team usually installs windows, exterior doors, and roof sheathing. This is often called “drying in” the house because it protects the interior from weather. At this point, your home may look like a shell, but it is a major milestone in the construction timeline.
Step 6: Mechanical, Electrical, and Plumbing Work
Once the frame is in place, the focus shifts to the systems inside the walls. This includes electrical wiring, plumbing lines, HVAC ductwork, and any special systems such as security or smart home technology. These are known as the rough-in stages because they happen before insulation and drywall.
This phase requires coordination between multiple trades and careful inspection. Any mistakes hidden behind walls can be expensive to fix later, so quality control is critical. Many homeowners find it helpful to visit the site during this stage to better understand how their home functions from the inside out.
Step 7: Insulation, Drywall, and Interior Finishes
After the rough-ins are inspected, the home is insulated to help improve energy efficiency and comfort. Then drywall is installed, taped, sanded, and finished to create the interior walls and ceilings. Once that is complete, the house finally begins to feel like a home rather than a construction site.
Interior finishes come next and often include flooring, cabinetry, countertops, tile, trim, paint, and light fixtures. This is the phase where design choices make the biggest visual impact. Your selections can shape the personality of the home, from modern and minimal to warm and traditional.
Because these details are highly visible, this part of the process often requires more decision-making and coordination than homeowners expect.
Step 8: Final Walkthrough and Move-In
As construction nears completion, the builder will schedule final inspections to make sure everything meets code and quality standards. Once those are approved, you will typically do a final walkthrough. This is your opportunity to look closely at the finished home and note any remaining items that need attention.
Common items on a final checklist may include paint touch-ups, trim adjustments, appliance testing, or minor hardware fixes. After those details are completed, you receive the keys and prepare for move-in day.
The final walkthrough is an important step because it ensures your home is truly ready for you and your family.
Conclusion
The custom home construction process may involve many steps, but each one plays an important role in creating a home that fits your lifestyle and vision. With thoughtful planning, clear communication, and the right professionals guiding the way, the journey can be both rewarding and manageable. By understanding the process from start to finish, you can move forward with more confidence and enjoy the experience of building a home that is truly your own.