Property Restoration After a Catastrophe: A Practical Guide
A fire, flood, severe storm, or other catastrophe can turn a property into an unsafe and overwhelming place. Once everyone is out of danger, the next steps may feel difficult to navigate. A clear restoration plan can help protect people, limit further damage, and guide the property back toward safe, usable condition.
Restoration is more than repairing what is visible. It often involves documenting damage, addressing immediate hazards, drying or cleaning affected areas, and coordinating with insurers and qualified contractors. The right process depends on the type and extent of the damage, but these steps provide a useful starting point.
Start With Safety
Do not enter a damaged building until local authorities or qualified professionals say it is safe. Catastrophes can leave hidden hazards, including unstable walls or roofs, exposed wiring, gas leaks, contaminated water, broken glass, and weakened floors. Smoke, soot, mold, and chemical residues may also pose health risks.
Know When to Stay Out
Leave the property and contact emergency services or the appropriate utility provider if you smell gas, see downed power lines, notice structural movement, or encounter standing water near electrical equipment. Wear protective clothing only when professionals have confirmed that entry is safe. Keep children and pets away from damaged areas.
Follow Official Guidance
Check instructions from emergency management officials, building inspectors, and utility companies. A property may need inspection before utilities can be restored or rooms can be occupied. Follow evacuation orders and do not use generators, grills, or fuel-burning heaters indoors; these can produce deadly carbon monoxide.
Document the Damage Before Cleanup
When it is safe to enter, create a thorough record of the damage. Take wide photographs of each affected room, then capture close-ups of damaged materials, belongings, and building systems. Record videos if they help show the extent of the loss. Make a list of damaged or missing items, noting brands, approximate ages, and purchase prices where available.
Keep receipts for emergency purchases, temporary accommodation, cleanup, and repairs. Save copies of communications with your insurer, contractors, and public agencies. Documentation can help support an insurance claim and provide a useful reference as work progresses.
Before discarding damaged possessions, check with your insurer about its documentation requirements. If an item must be removed for safety or to prevent further damage, photograph it first and keep relevant receipts or disposal records when practical.
Contact Your Insurer and Limit Further Damage
Notify your insurance company as soon as you can and ask what steps are required to open and document a claim. Coverage depends on the policy, the cause of loss, and the specific circumstances, so request written guidance about inspections, approved vendors, temporary repairs, and what to do before permanent work begins.
Take reasonable measures to prevent additional damage once it is safe—for example, arranging a temporary roof covering or professional water extraction. Keep receipts and photograph these measures. Avoid major repairs or throwing away evidence before coordinating with the insurer, unless immediate action is necessary for safety or to prevent further loss.
If the property cannot be occupied, ask your insurer whether your policy includes additional living expenses or other temporary accommodation benefits. Keep records of related costs and confirm what documentation is needed.
Choose Restoration Professionals Carefully
Large losses often require specialists in water damage, fire and smoke cleanup, structural repair, hazardous-material handling, or mold remediation. Seek providers with appropriate licenses, insurance, training, and experience with the specific type of damage. Ask for references, a written scope of work, an estimated schedule, and a clear explanation of costs.
Coordinate the Work
Restoration may involve several trades, such as electricians, plumbers, roofers, engineers, and general contractors. Ask who will manage scheduling and how changes to the scope will be approved. Get agreements in writing, including payment terms, cleanup responsibilities, and procedures for unexpected damage uncovered during repairs.
Be cautious of high-pressure sales tactics, unusually large upfront payment requests, or promises that a claim is guaranteed to be covered. Compare estimates when time and safety allow, and verify a contractor’s details through relevant licensing or consumer-protection agencies.
Understand the Main Restoration Phases
1. Assessment and Stabilization
Professionals inspect the property, identify immediate hazards, and determine what can be salvaged. Stabilization may include boarding openings, covering a damaged roof, or arranging temporary support. The specific measures depend on the building and incident.
2. Water Removal, Cleaning, and Drying
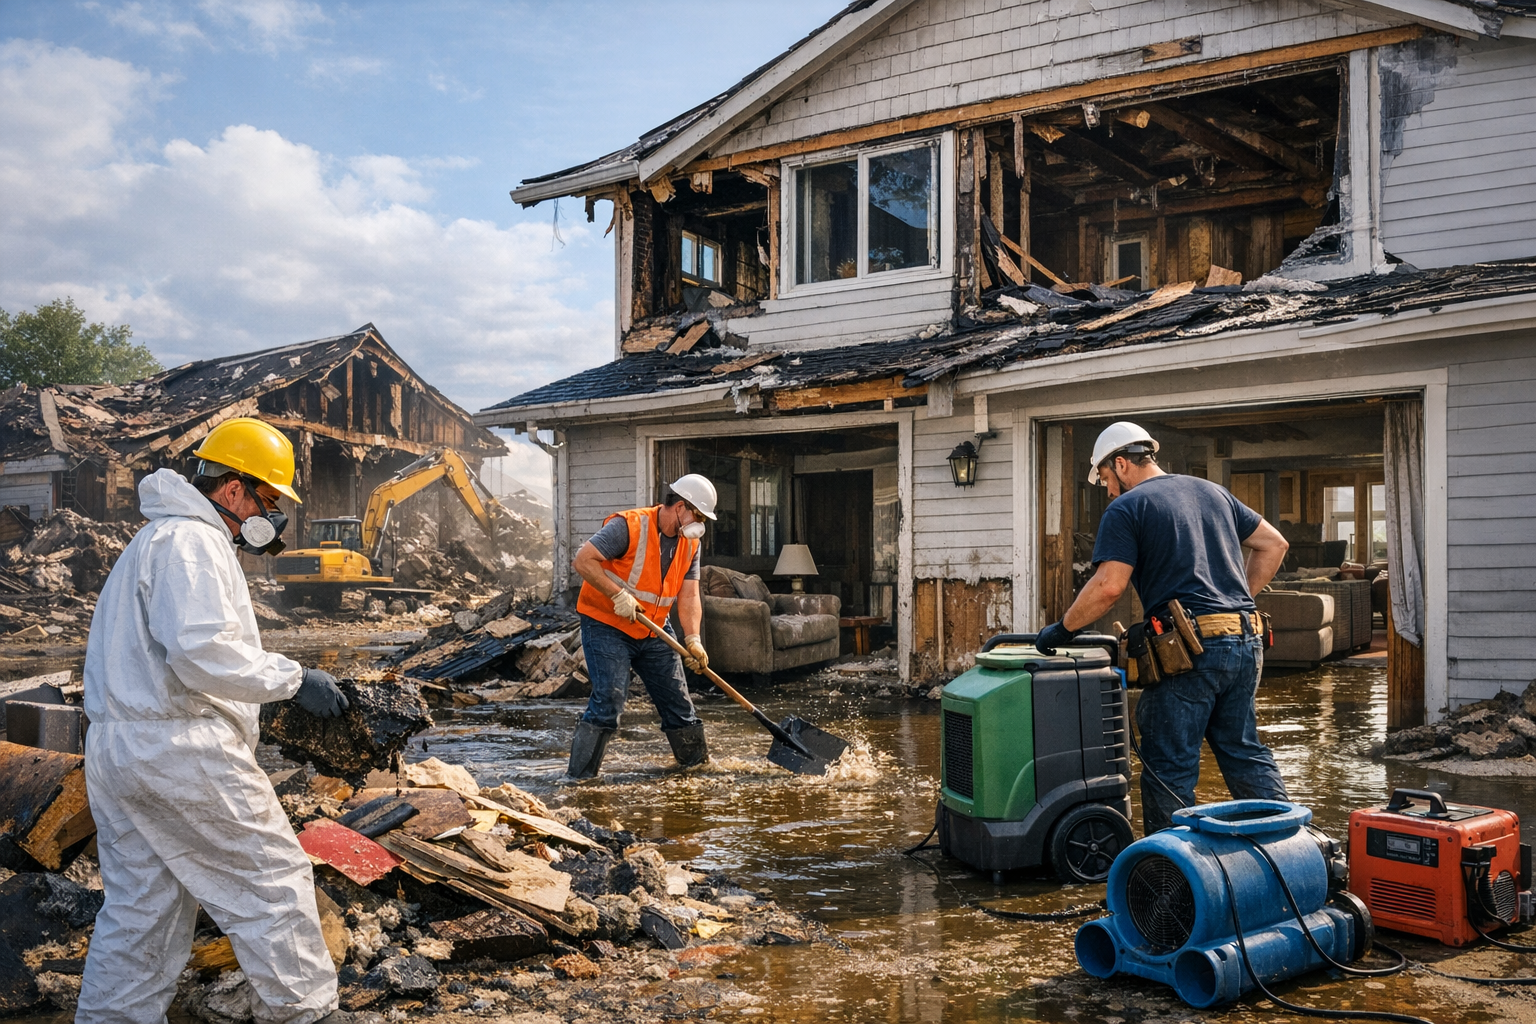
After a flood or leak, standing water and moisture may need prompt professional attention. Technicians can use suitable extraction and drying equipment, check concealed spaces, and remove materials that cannot be safely restored. Water from sewage or other contaminated sources requires specialized precautions. Simply drying what is visible may not address moisture behind walls or under flooring.
3. Smoke, Debris, and Contamination Cleanup
Fire damage can affect rooms far from the flames. Smoke and soot may settle on surfaces and enter ventilation systems, while firefighting water can create additional problems. Storms and other events may leave debris or contaminated materials. Professionals can assess what can be cleaned, what needs removal, and whether specialized testing or protective measures are appropriate.
4. Repairs and Rebuilding
Once the property is stable and affected areas are cleaned or removed, repair work can begin. This may include replacing drywall, flooring, insulation, wiring, plumbing, windows, or structural components. Confirm that any required permits and inspections are addressed, and keep records of completed work and warranties.
Plan for Recovery and Future Resilience
Restoration takes time, and hidden damage can change the schedule or cost. Keep a central file for photographs, estimates, invoices, permits, inspection reports, and claim correspondence. Ask for regular progress updates and document any changes to the work plan.
As repairs are completed, consider practical ways to reduce future risk. Depending on the property, improvements may include better drainage, roof upgrades, leak sensors, fire-resistant materials, or securing outdoor objects ahead of storms. Review your insurance policy periodically so you understand limits, exclusions, and documentation expectations before another emergency occurs.
Conclusion
Property restoration after a catastrophe begins with safety, careful documentation, and prompt communication. By limiting further damage, choosing qualified professionals, and tracking each phase of the work, property owners can make informed decisions and move toward a safer, more complete recovery.