Rebuild Services After Water Mitigation: What to Expect
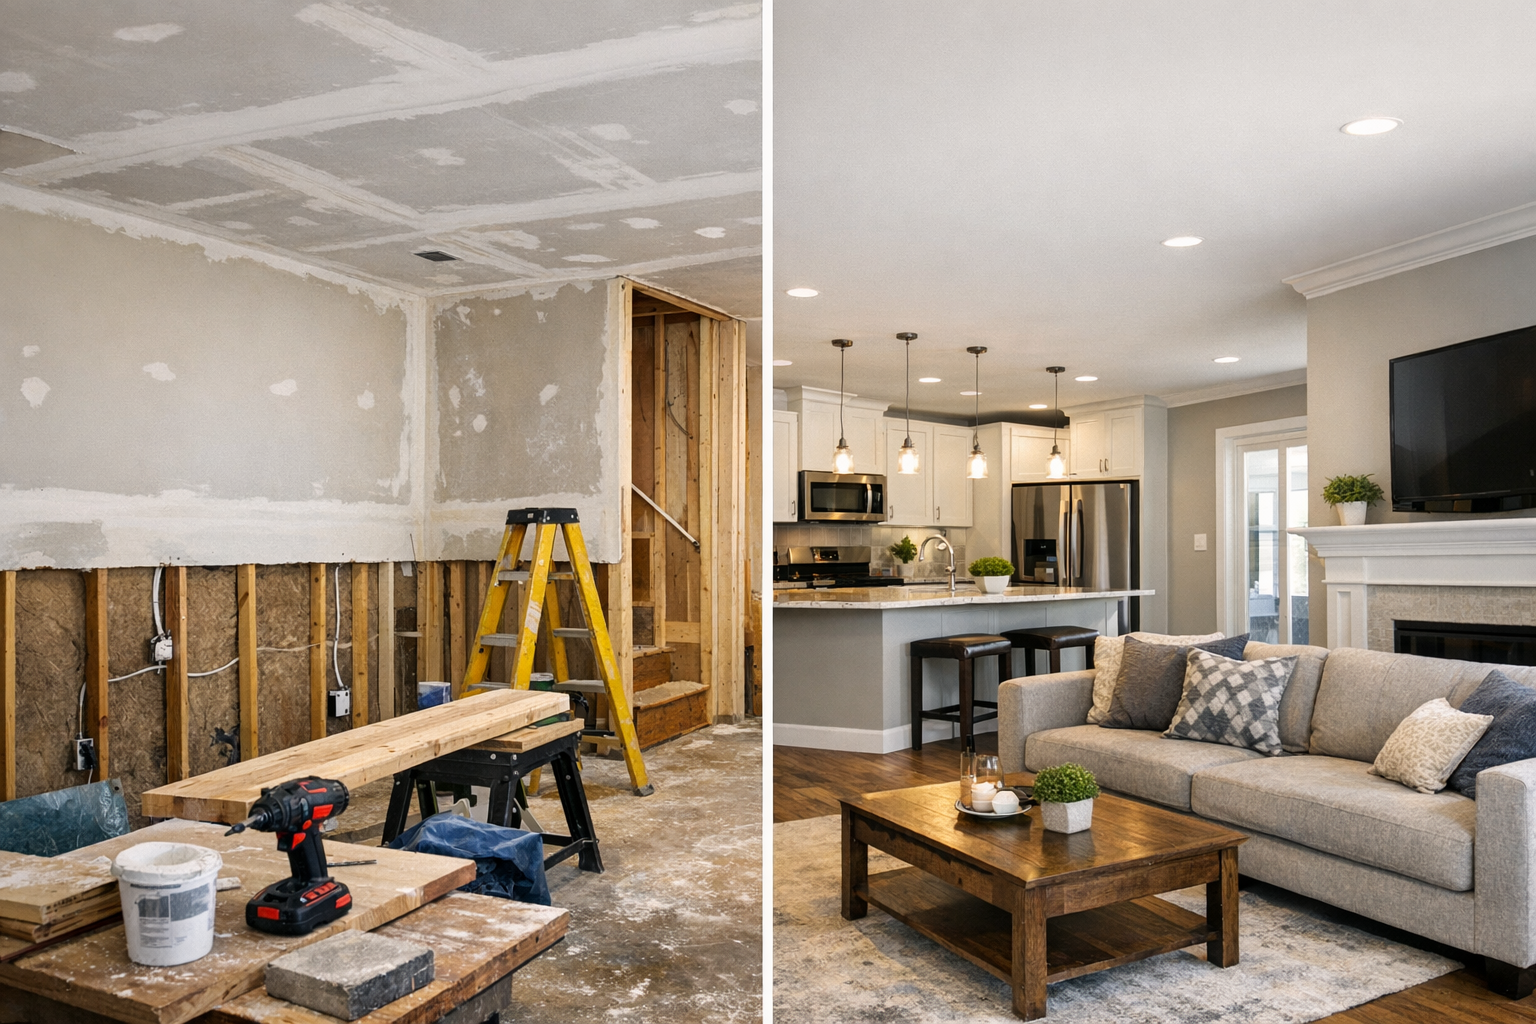
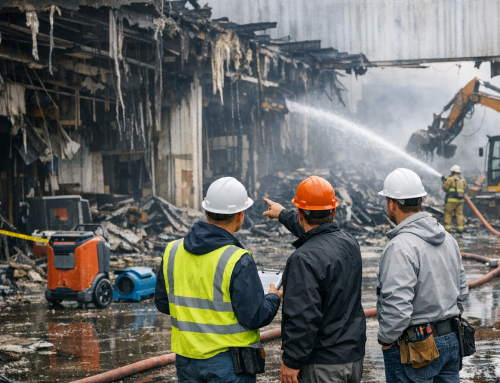
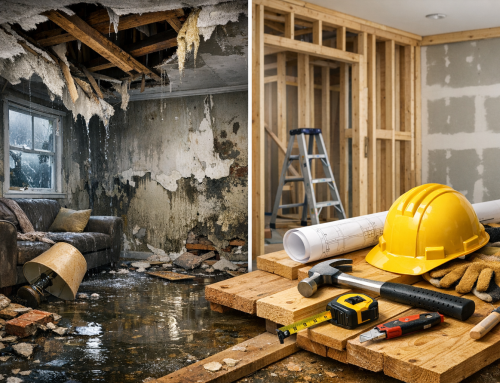
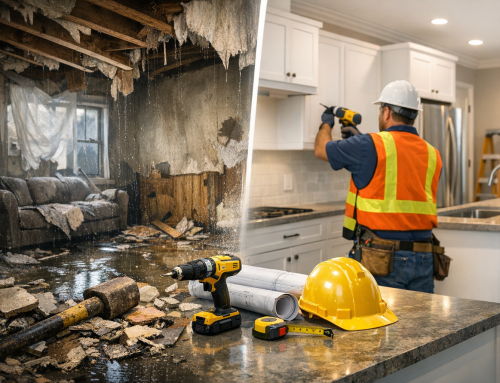
Water mitigation helps stop further damage by removing standing water, drying affected areas, and addressing immediate risks. But once the property is dry, there may still be a long road back to normal. Rebuild services after water mitigation restore the parts of your home or business that had to be removed or damaged, from drywall and flooring to cabinets and trim.
Knowing how reconstruction works can help you plan, communicate with your restoration team, and make informed decisions about repairs. Here’s what to expect from the transition between mitigation and rebuilding.
What Are Rebuild Services After Water Mitigation?
Water mitigation focuses on limiting damage and creating safe conditions for repairs. Depending on the incident, a mitigation crew may extract water, set up drying equipment, remove damaged materials, and clean affected spaces. Rebuild services begin when the area is ready for restoration and involve repairing or replacing building materials and finishes.
The work may be relatively contained, such as replacing a section of drywall and repainting. More extensive water damage might require new flooring, insulation, cabinetry, doors, or structural components. The exact scope depends on where the water traveled, how long materials were wet, and what had to be removed during mitigation.
When Can Reconstruction Begin?
Rebuilding should start only after the affected areas have been properly dried and evaluated. Covering damp materials too soon can trap moisture and contribute to odor, material failure, or microbial growth. Restoration professionals typically use moisture measurements and visual inspections to assess whether drying goals have been met.
The timing can vary. A small, straightforward loss may move into repairs quickly, while hidden moisture, complex construction, or extensive damage can add time. If inspections reveal that more drying or removal is needed, address it before installing new materials. A clear handoff between mitigation and reconstruction helps prevent work from moving ahead prematurely.
Common Steps in the Rebuild Process
1. Review the damage and repair scope
Your contractor should review the affected areas, mitigation work, and proposed repairs with you. The scope may list each task and material—for example, replacing insulation, installing drywall, applying texture, and painting. Ask questions if something is unclear, and confirm which rooms or finishes are included before work begins.
2. Coordinate approvals and scheduling
For an insured loss, the repair estimate and documentation may need to be reviewed by your insurance company. The property owner generally remains responsible for understanding the policy, deductible, and any items not covered. Share relevant estimates and updates among the restoration company, insurer, and other professionals, and keep copies of decisions in writing. Approval processes and coverage vary by policy and claim.
Once the scope is agreed upon, your contractor can schedule crews and order materials. Availability of specialty products, permits, or subcontractors may affect the schedule. Ask for a projected timeline and find out how the team will communicate if it changes.
3. Repair and replace building materials
Reconstruction may include framing or subfloor repairs, insulation, drywall installation, flooring, paint, cabinetry, and finish carpentry. Licensed trades may be needed for electrical, plumbing, or other specialized work. The contractor should follow applicable building codes and obtain permits when required. If the water damage affected systems or structural elements, confirm that qualified professionals have assessed them before they are enclosed or finished.
4. Inspect the finished work
Before considering the project complete, walk through the repaired areas with your contractor. Check that agreed-upon work has been performed, finishes are consistent with the scope, and the space is clean and usable. Report concerns promptly and ask how any outstanding items will be addressed. Keep final invoices, warranties, change orders, and photos with your property records.
Choosing a Rebuild Contractor
Look for a contractor with relevant water-damage reconstruction experience, appropriate licensing and insurance for your area, and a clear written estimate. Ask who will manage the project, whether subcontractors will be involved, and how changes to the scope are approved. References, recent project examples, and a written workmanship warranty can also help you assess a provider.
Be cautious of vague pricing, pressure to sign immediately, or promises that all expenses will automatically be covered by insurance. A dependable contractor should explain the proposed work in understandable terms and distinguish restoration needs from optional upgrades. If you want to change materials or improve the space while it is being repaired, discuss the cost and schedule impact before approving the change.
How to Prepare for Rebuilding
Clear personal belongings from work areas where possible, and agree on how the crew will protect furniture and unaffected rooms. Ask about access, work hours, noise, dust control, and whether you can remain in the property during construction. If the project involves a kitchen, bathroom, or multiple rooms, plan for temporary alternatives. Keep a written record of conversations, photos, and receipts related to the loss.
Good communication is especially important if new damage becomes visible after materials are opened. Pause affected work and ask the contractor to document the finding and explain the next steps. An updated scope may be needed before additional repairs proceed.
Conclusion
Rebuild services after water mitigation turn a dried, damaged space into a functional property again. Confirm that drying is complete, understand the repair scope, choose a qualified contractor, and stay involved through the final walkthrough. With clear documentation and communication, you can make the transition from emergency response to repairs more manageable.