Detailed Finish Carpentry and Millwork: A Guide to Quality Craftsmanship
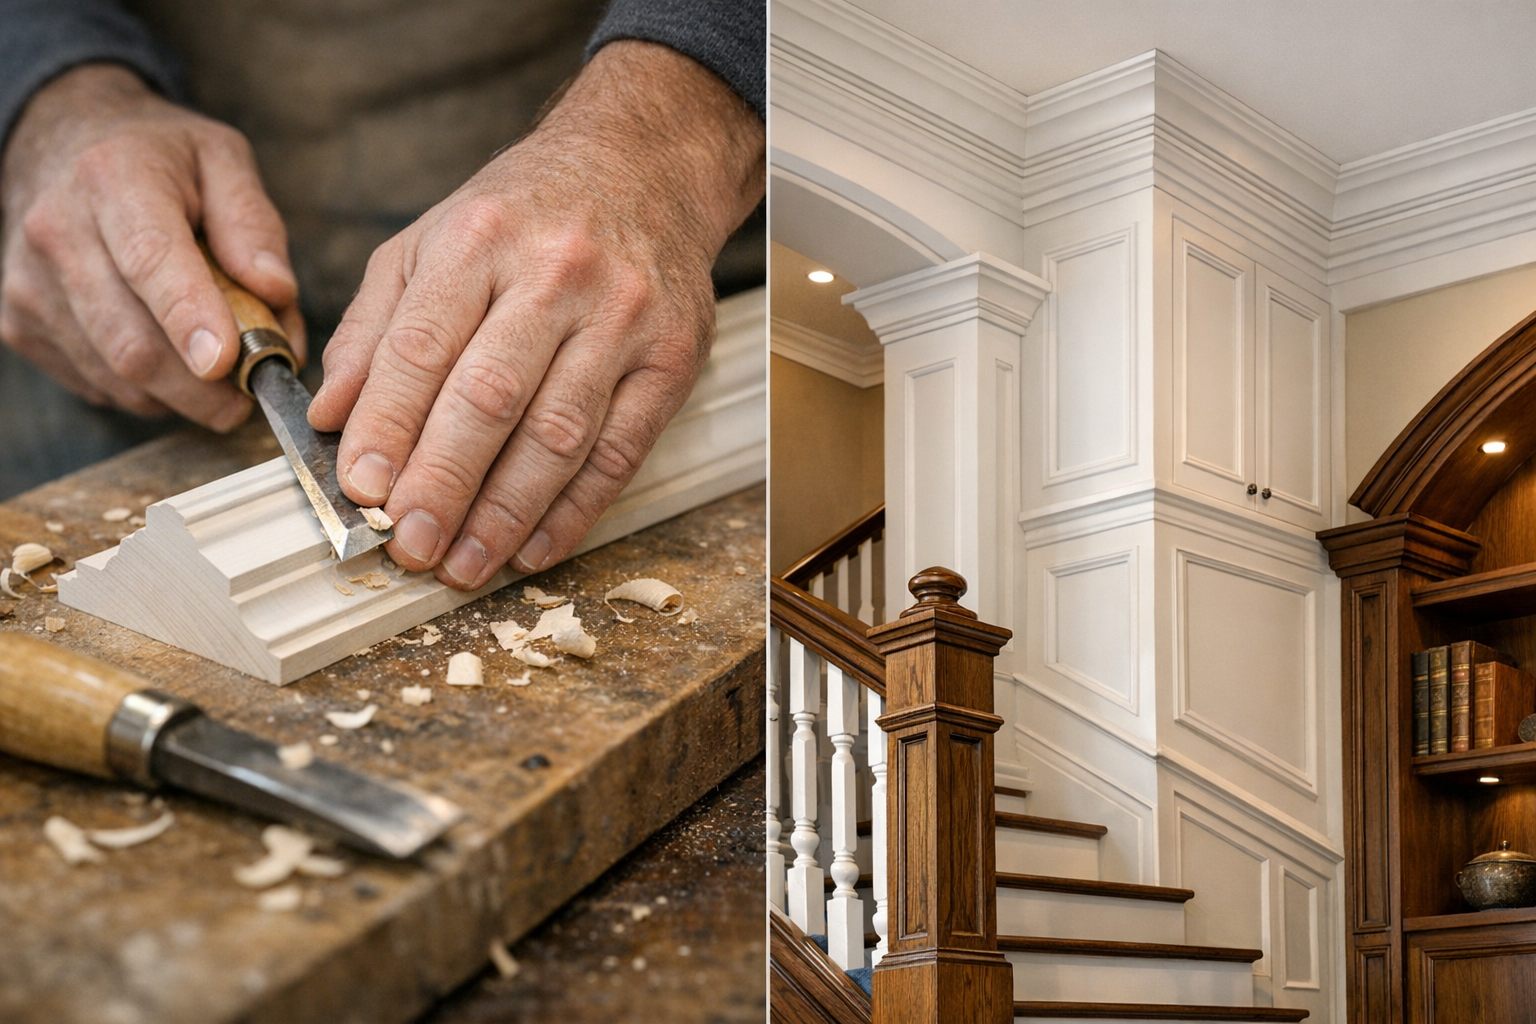
Finish carpentry and millwork give a room its final character. The work may include doors, trim, cabinetry, built-ins, paneling, and carefully fitted transitions between materials. These details can make a new space feel complete—or help an older home retain its original charm. Achieving a polished result takes more than attractive materials: it requires thoughtful planning, accurate measurements, skilled installation, and attention to the details people notice every day.
What Are Finish Carpentry and Millwork?
Finish carpentry is the visible woodwork installed near the end of construction. It includes baseboards, casings, crown molding, interior doors, stair components, and built-in features. The term describes both the work and the skill involved in fitting these elements neatly to walls, floors, ceilings, and one another.
Millwork refers to wood products made in a mill or workshop, often to a standard profile or a custom design. It can include trim, doors, paneling, cabinetry components, and decorative architectural features. In practice, the terms overlap: a millwork shop may produce custom pieces that a finish carpenter measures, adapts, and installs on site.
Planning for a Refined Result
Good finish work begins before the first cut. A clear plan helps align the appearance, function, and budget of every feature, while reducing the chance of costly adjustments during installation.
Choose a Consistent Design Language
Consider the home’s architecture, ceiling height, window proportions, and existing details. Simple flat-stock trim may suit a contemporary interior, while a traditional room may call for layered casing, panel molding, or a more prominent baseboard. Profiles do not have to match throughout the entire house, but they should relate in scale and style.
Take time to coordinate trim with flooring, doors, cabinet fronts, hardware, and paint or stain colors. A small sample can look very different once it is installed across a full wall, so review profile samples and finish samples in the actual room whenever possible.
Set Dimensions and Priorities Early
Document key dimensions, including door and window openings, ceiling heights, wall lengths, and the locations of outlets, vents, and plumbing. For built-ins or cabinetry, confirm how doors and drawers will open and leave room for nearby switches, appliances, and walkways. If the budget is limited, prioritize high-visibility areas such as an entry, main living space, or staircase rather than adding elaborate trim everywhere.
Materials, Profiles, and Finishes
The best material depends on the location, design, finish, and budget. Solid wood offers natural grain and can often be repaired or refinished, but it may expand and contract with changes in humidity. Medium-density fiberboard (MDF) provides smooth, consistent profiles and is often a practical choice for painted interior trim, though it is not ideal for areas exposed to moisture. Finger-jointed wood can be a cost-conscious option for paint-grade work, while plywood and quality veneer are common choices for cabinet panels and built-ins.
Profile size matters as much as profile style. Oversized crown molding can overwhelm a low ceiling, while narrow casing may look out of proportion beside a large door. Test combinations together where possible, and consider how shadows will fall across the profile under the room’s lighting.
Painted and stained work need different preparation. Paint-grade surfaces should be filled, sanded, caulked where appropriate, and primed for an even finish. Stained wood benefits from careful material selection and test samples because grain and color can vary. Decide whether pieces will be finished before installation or on site; the right approach depends on the product, the design, and how cleanly joints can be completed.
Installation: Where Precision Shows
Even high-quality millwork can look uneven if the installation is rushed. Experienced finish carpenters measure carefully, account for out-of-square rooms, and fit pieces to the actual conditions rather than assuming walls and floors are perfectly straight.
Fit Joints and Transitions Carefully
Clean joints are a hallmark of detailed finish carpentry. Outside corners, inside corners, long trim runs, and transitions around windows or doors all need to be considered. Depending on the profile and site conditions, a carpenter may use a miter, cope, scarf joint, or another fitting method. The goal is a tight, consistent connection that remains visually pleasing as materials move with seasonal changes.
Walls and floors are rarely perfectly flat or level. Scribing—shaping a piece to follow an uneven surface—can create a closer fit than relying on caulk to hide a large gap. Matching the direction and spacing of grain on visible woodwork, aligning panel details, and concealing fasteners also contribute to a more intentional appearance.
Coordinate with Other Trades
Finish carpentry often depends on work completed earlier in the project. Before installation, confirm that drywall, flooring, tile, electrical, and painting schedules are coordinated. Cabinetry and built-ins may require blocking behind walls, while trim around tile or flooring needs a planned transition. A quick review of these details can prevent awkward gaps, blocked access, or unnecessary rework.
Common Issues to Watch For
Frequent problems include inconsistent gaps, poorly aligned trim, visible nail holes, rough paint lines, and profiles that do not suit the room’s scale. Rushed measuring can also lead to doors that rub or reveal uneven margins. Moisture is another concern: wood installed before a room is properly conditioned may move after the building dries, affecting joints and finishes.
To reduce risk, inspect samples and drawings before ordering, confirm measurements on site, and agree on finish expectations in advance. Ask how corners, seams, fasteners, and imperfect surfaces will be handled. For complex built-ins or custom profiles, reviewing a shop drawing or a small mock-up can help everyone understand the final result.
Maintaining Finish Carpentry and Millwork
Regular care helps preserve both appearance and function. Dust trim and cabinet details with a soft cloth, clean spills promptly, and use products suitable for the specific finish. Avoid soaking wood or applying harsh cleaners. Keep indoor humidity reasonably stable, especially where solid wood doors, panels, or cabinetry are installed.
Small touch-ups can address minor chips and scuffs, but larger finish failures or loose trim may need professional attention. Periodically check moving parts such as hinges, drawer slides, and latches, and address signs of moisture before they lead to swelling, staining, or damage.
Conclusion
Detailed finish carpentry and millwork combine design, material knowledge, and precise installation. With a coordinated plan and careful craftsmanship, trim, doors, cabinetry, and built-ins can work together to make a home feel cohesive, functional, and thoughtfully finished.