Custom Wardrobe System Installation: A Practical Guide to a Better Closet
Why Choose a Custom Wardrobe System?
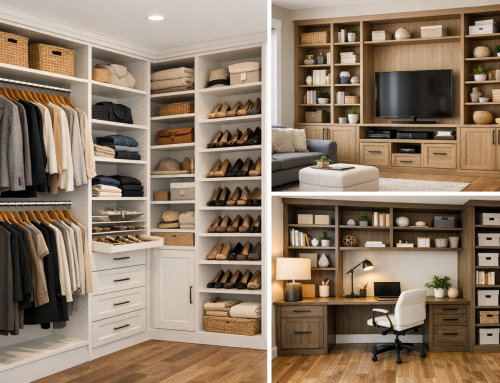
A custom wardrobe system is one of the most effective ways to improve storage, reduce clutter, and make everyday routines easier. Unlike standard closets with fixed rods and shelves, a custom system is designed around your space, your belongings, and your habits. Whether you’re dealing with a small reach-in closet, a spacious walk-in, or an awkward alcove, the right layout can transform wasted square footage into highly functional storage.
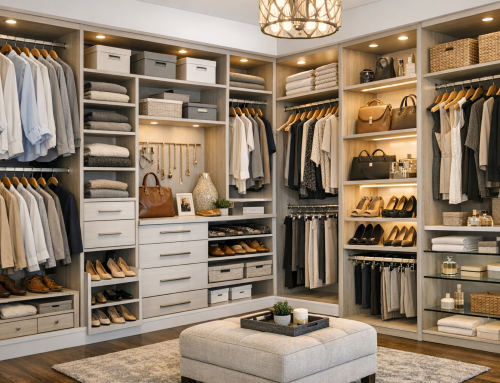
Homeowners also choose custom wardrobe systems because they offer a cleaner, more finished look. You can coordinate materials, colors, and hardware with your room’s design, creating a built-in feel that looks intentional and polished. For many people, the biggest benefit is organization: when every item has a designated place, mornings become simpler and maintaining order gets much easier.
Planning Your Wardrobe System
Successful installation begins long before the first shelf goes up. Planning is where you define how the system should work and what it needs to store. Start by taking stock of everything that will live in the wardrobe—shirts, dresses, shoes, folded items, bags, accessories, and seasonal pieces. This helps determine the balance between hanging space, shelving, drawers, and specialty storage.
Next, measure the space carefully. Record the width, height, and depth of the closet, and note any obstructions such as outlets, vents, baseboards, trim, or sloped ceilings. Accurate measurements are essential because custom systems are made to fit precisely. It’s also smart to think about your daily habits. If you prefer to hang most clothing, prioritize rod space. If you rely on folded items, drawers and shelves may be more useful.
Choose the Right Layout
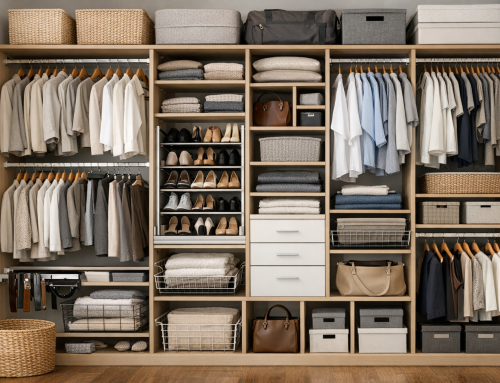
There are many layout options, and the best one depends on the size of the room and how you use it. Double-hanging sections work well for shorter clothing, while single-hanging sections accommodate longer garments. Open shelving is ideal for sweaters, jeans, and linens, while drawers keep smaller items hidden and tidy. If you share the wardrobe, consider dividing the system into zones so each person has clearly defined storage.
For larger wardrobes, consider adding features like pull-out baskets, belt or tie organizers, shoe racks, and valet rods. These details improve convenience and help the closet stay organized over time. The key is to build around your routines instead of forcing your belongings into a one-size-fits-all setup.
Tools and Materials You’ll Need
A smooth installation depends on having the right tools ready ahead of time. While exact materials vary by system, most projects require a tape measure, level, stud finder, drill, screwdriver, pencil, ladder, and safety gear. You may also need wall anchors, screws, brackets, and mounting hardware supplied by the manufacturer.
If the system includes prefinished panels or modular components, inspect every piece before installation. Check for damage, verify all parts are included, and review the assembly instructions carefully. Setting up a clean workspace and sorting pieces by type can save a lot of time once installation begins.
Step-by-Step Installation Process
Although every product is different, most custom wardrobe system installations follow a similar process. Taking your time at each stage will help ensure a stable, professional result.
1. Prepare the Space
Start by emptying the closet completely. Remove old shelving, rods, nails, or screws, and patch any holes if needed. Clean the walls and floor so the new system can be installed on a stable, clutter-free surface. If you plan to paint the walls or update lighting, do that before the wardrobe goes in.
2. Mark the Layout
Use a level and pencil to mark the placement of panels, supports, shelves, and hanging sections. Accurate marking is important because even slight misalignment can affect the fit and appearance of the finished system. Measure from the floor and compare both sides of the closet to make sure your layout is balanced.
3. Locate Studs and Secure the Framework
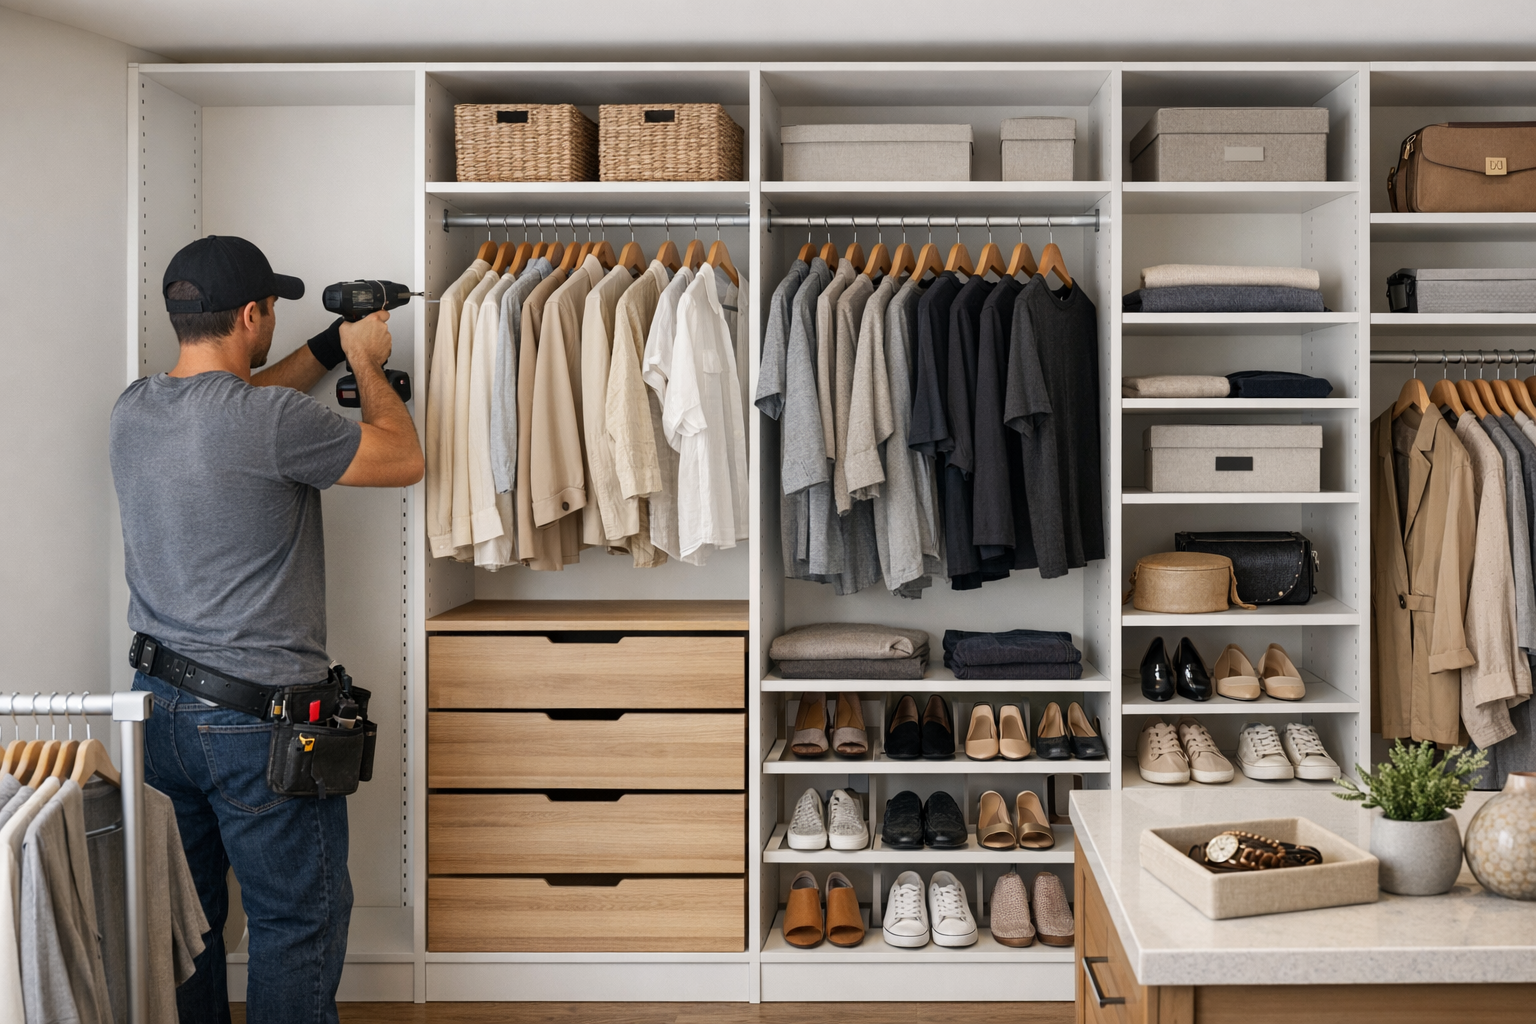
Finding wall studs is a critical step for stability. Whenever possible, anchor the main structure into studs for a secure hold. If studs are not available in the exact locations needed, use appropriate wall anchors designed for the load and wall type. Install the main vertical panels or rails first, then verify they are level before tightening all fasteners.
4. Install Shelves, Rods, and Accessories
Once the framework is in place, add shelves, drawers, hanging rods, and specialty accessories according to the plan. Double-check spacing as you go, especially for hanging sections that need enough clearance for clothing. Drawer units should open smoothly, and shelves should sit flat without wobbling. If your system includes adjustable components, take advantage of that flexibility to fine-tune the layout.
5. Make Final Adjustments
After the main installation is complete, inspect every connection and level every surface. Tighten screws, test drawers, and make sure doors or pull-outs operate correctly. This is also the time to add finishing touches like decorative trim, lighting, or storage bins. A final review helps catch small issues before you begin using the wardrobe.
Common Mistakes to Avoid
One of the most common installation mistakes is failing to measure accurately. Even a small error can throw off the alignment of an entire system. Another frequent issue is overloading shelves or using weak anchors that aren’t suited to the wall type. It’s also easy to overlook how much clearance is needed for doors, drawers, and hanging clothes.
Many homeowners focus only on appearance and forget about function. A beautiful wardrobe is valuable, but it should also support your daily routines. Avoid cramming too many features into a small space, and leave room for clothing to hang freely and drawers to open without obstruction. Thoughtful planning is the best way to avoid frustration later.
Maintenance Tips for Long-Term Performance
Once your wardrobe system is installed, a little maintenance will keep it looking and working its best. Dust shelves and surfaces regularly, and periodically check hardware to make sure screws and brackets remain tight. If you use adjustable components, inspect them from time to time to ensure they haven’t shifted.
Good organization also extends the life of the system. Avoid overcrowding drawers and shelves, and store heavier items according to the manufacturer’s recommendations. Reassess the layout seasonally if your storage needs change. Small adjustments can help the wardrobe stay efficient as your wardrobe and lifestyle evolve.
Conclusion
Custom wardrobe system installation is a smart investment in both organization and style. With careful planning, the right materials, and a methodical installation process, you can create a storage solution that fits your home perfectly and makes everyday life easier. Whether you tackle the project yourself or hire a professional, a well-designed wardrobe system delivers lasting value and a more organized space.